💅 Webflow
How to create an FAQ on Webflow?
To get started, here you find a small video tutorial on how to create an FAQ on Webflow. The UX has changed a bit since but the steps remain the same ;).
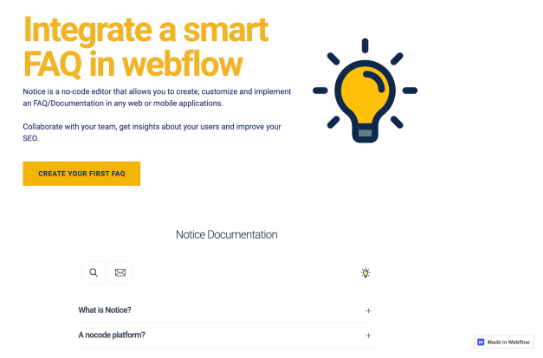
You can check here our own example of an FAQ on Webflow.
Reminder: you need a paid subscription to Webflow for it to work 💰
Create an account and FAQ on Notice
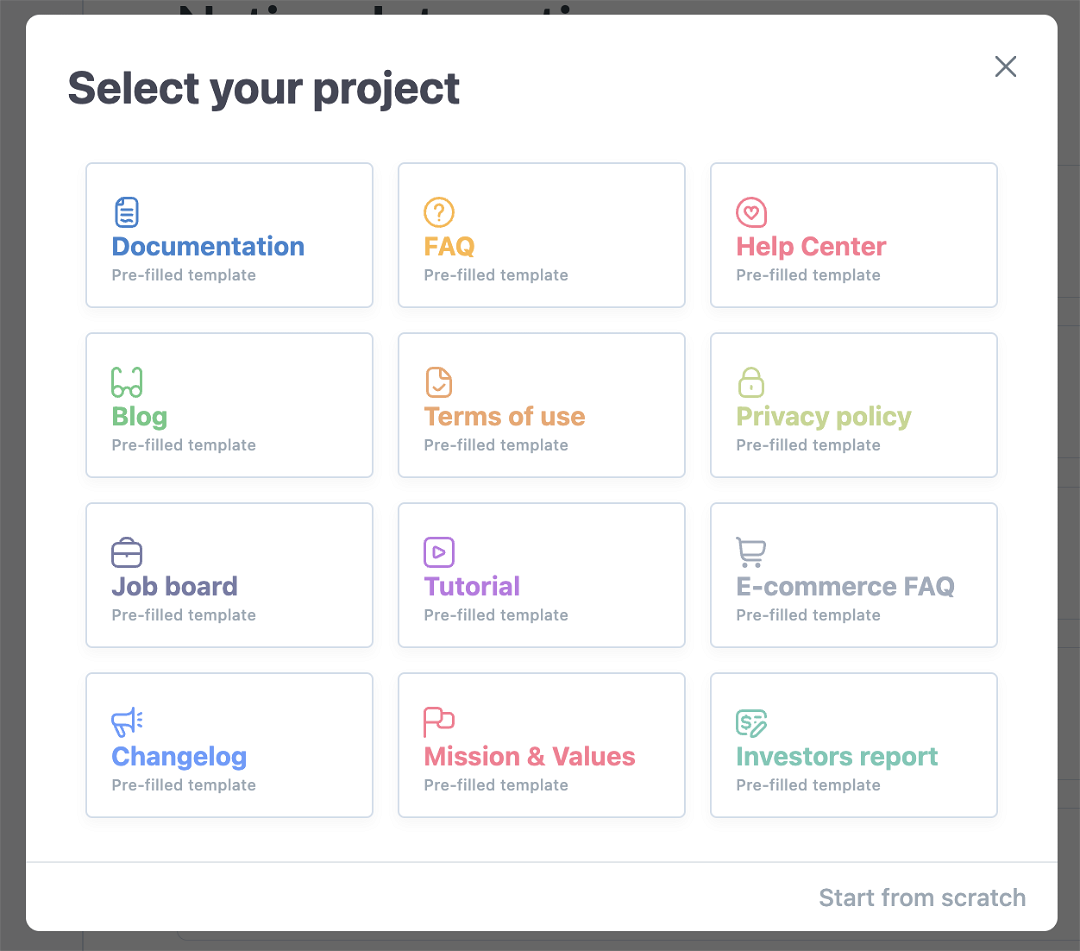
Sign up or login to Notice platform here. You will then be prompted to create your first project. Select FAQ.
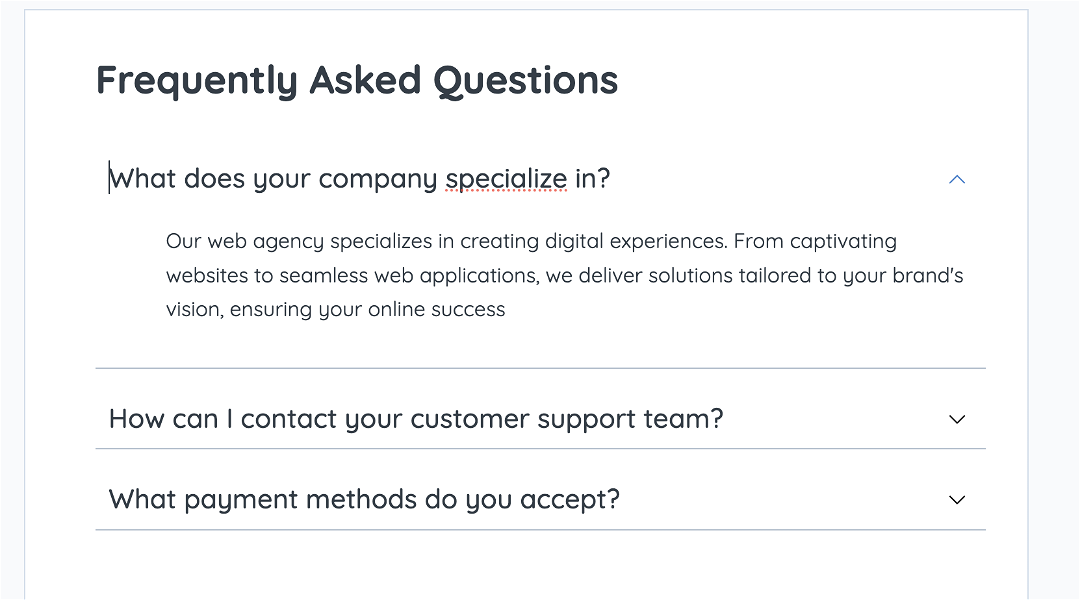
You can now enter some content in your first article and customize your FAQ.
Notice works just like any other editor such as Google Docs or Notion. You can edit, delete, and find extra functions by selecting the text. Drag-and-drop elements for easy organization.
Deploy your FAQ
Click on the Integrations icon in the nav bar 🚀

Then select Webflow and paste the first snippet of code.
Webflow
Webflow settings
Login to your Webflow account, go to your project settings, and find the Custom code tab.
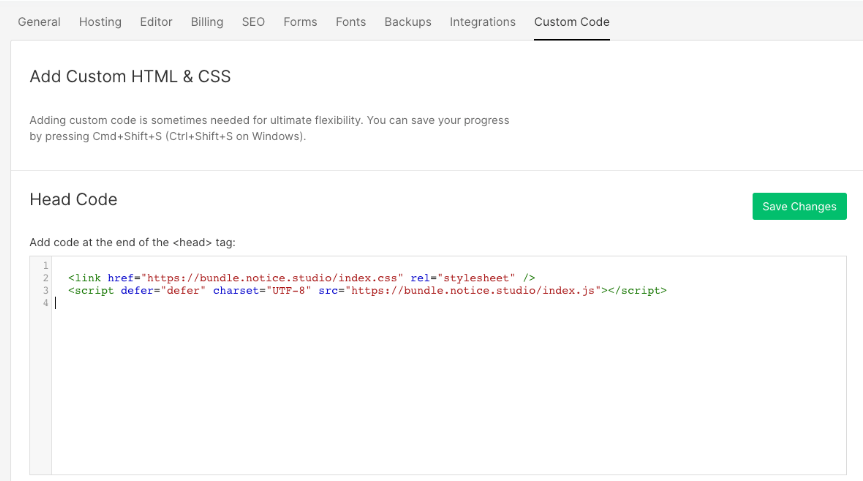
Here you can copy/paste the first snippet of code. Don't forget to click on Save Changes.
Webflow editor
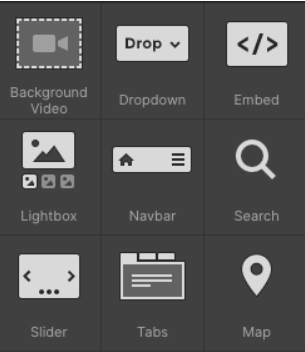
Now, go to the Webflow editor and pick a place where you want to put your FAQ. Click on it and then add an Embed block.
Important: You FAQ will fit its parent element, meaning that its parent doesn't take the full width of the page, the FAQ won't either!
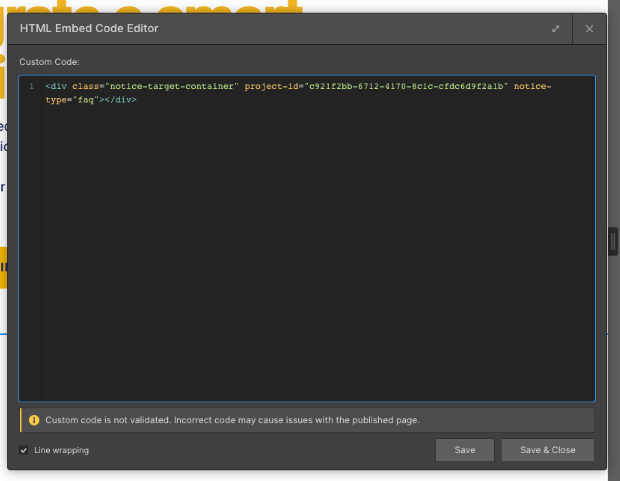
In the Embed code, copy paste the second snippet.
Congrats 🎉
You are done.